How to install a ceiling fan with a red wire Overview
Materials
- 1 ceiling fan with a red wire.
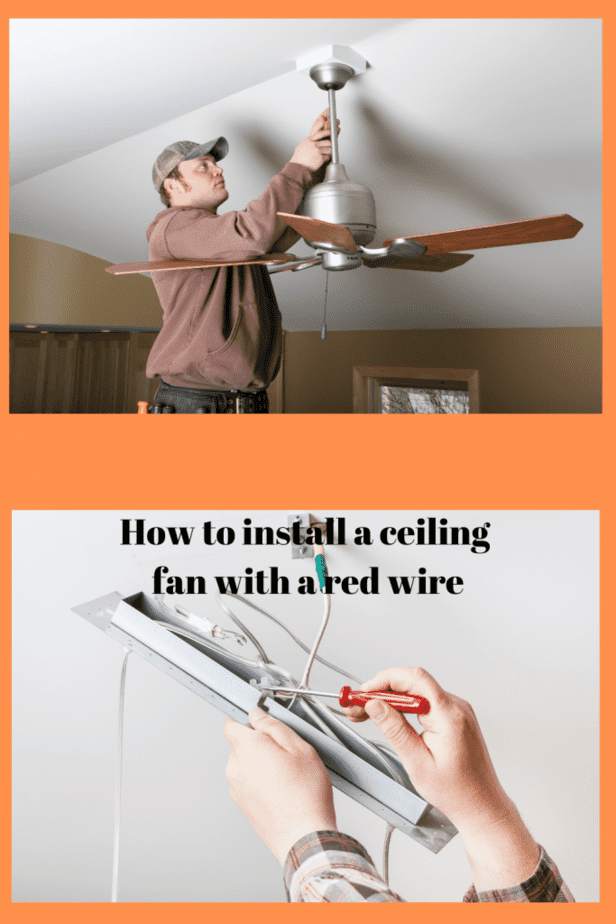
How to do this job ( step by step) without missing any step.
- Turn off power to the ceiling fan before beginning installation process by flipping the circuit breaker off or unplugging power cord and get someone licensed to do it if you don’t know how.
- Determine where the ceiling fan hole is on your ceiling by marking the sheet rock.
- Remove the panel in the wall that serves as a cover of the electrical box and pull out the wires of switches and sockets and also pull out the wires that serve as power supply to each of those switches/ sockets:
- Remove the screws that holds the ceiling fan on by unscrewing them out of their holes and pull out the fan from your wall.
- A clear plastic plate is also included to cover up the black plate (the one where there are white wires) of your ceiling fan and mark it clearly on any nearby walls to help you keep track in which direction should you be screwing it into so that you do not get confused with the direction of the black plate.
- Unscrew the white cover and expose the black plate (the one where there are white wires) of your ceiling fan and screw it into your wall.
- Remove the plastic cover from the black plate
How to install a ceiling fan according to UK Ceiling Fans:
- Disconnect the power source of your home or office, if it is connected
- Measure the height and width of your room
- Decide upon which place you would like to put the ceiling fan
- Now that you have decided on what kind of fan you will be installing and where, now you can start cutting a hole for the installation of your ceiling fan.
- Take measurements for your electrical box and cut a hole at proper size
- And now you can start screwing away the hole made. If you are new to installing ceiling fans and don’t know how to do it,
How to Connect Ceiling Fan With Light
The first step to installing a new ceiling fan is to disconnect the existing light and power source. If you have an electric box, the light source is located on the hot wire. Next, you should strip the other end of the wire to expose the copper, which is the ground wire. If the lighting kit does not come with a wiring diagram, you will need to consult an electrician for instructions. After removing the old light, you can plug in the new one.
The two wires connected to the new fan should be black and blue. The black wire supplies power to the fan motor, and the green wire provides power for the light. The blue and white wires should be attached to the black and white wires coming out of the electrical box. You can use the black wire to connect the fan to the light kit if it is available. The green wire should be connected to the bracket holding the fan.
To connect the ceiling fan with a light, you must make sure that the lights are powered by a separate power source. To do this, you need to unplug the old light fixture and disconnect the wiring from the fan. Once you’ve disconnected the power source, you must then connect the black wire to the light kit. The white wire should be connected to the ground wire of the new ceiling fan.
How Do You Wire a Ceiling Fan Switch?
The first step in installing a ceiling fan is to wire it. Before you proceed, make sure that you have cut the power to the fuse box. This will prevent any direct electricity from reaching your work area. You can check your local code for specific requirements, including the gauge of wire that you need. Split the incoming hot wire into two parts – one for each switch. Then, connect the black wire to the screw of switch No. 1.
The second step is to connect the two green and blue wires coming out of the ceiling fan to the two green and blue wires of the receiver. You can use a wire nut to connect the incoming line and the single-way switch. Next, attach the bare conductors with wire caps to cover joints. Finally, test the speed of the ceiling fan by turning on the main circuit breaker.
Then, connect the two black and blue wires to the two green wires coming out of the ceiling. You can connect the two-phase wires at this point. The final step is to attach the two white wires to the black and blue wires. If your ceiling fan does not have a lamp, then you will need only the black wires. If you have a multi-phase ceiling fan, you should use two black and blue lines. check out best ceiling fan with light here
Basic steps for installing a ceiling fan:

- Turn off electrical power of your home/office
- Take a pen or pencil and mark the location where you want the ceiling fan to be installed
- Lay a sheet of sheetrock above the location where you want to put the ceiling fan.
- Now you can start removing the old fan.
- Remove all of the screws, nuts, and other parts that hold your old fan together
- Now proceed to install your new ceiling fan
- Now screw any loose screws into its place
- Mark any places where wires need to be connected in an efficient manner
- Once all connections are made, re-attach all parts
- Put the electrical box and wires in a position where they won’t be seen 11. This is an important step – make sure the fan is turned on and make sure it is working fine
Conclusion
The good thing about this installation is that the wires are separate and easy to install even if anyone has no idea of wiring a ceiling fan.
They don’t need to worry about any mistakes and can concentrate on installing the fan well. Read about building a sauna here.